Mastering Your Mark: The Ultimate Guide to Choosing Pavement Stencils for Professional Results

Do you need to create clear, durable markings on asphalt or concrete? Are you looking for the best way to guide traffic, organize a parking lot, or add important safety messages? Understanding how to choose and use the right tools is key. This is where pavement stencils come in.
Pavement markings are more than just lines on the ground. They are a universal language that helps drivers, pedestrians, and cyclists understand where to go. They improve safety, organize spaces, and ensure everyone follows the rules. Without clear markings, confusion and accidents can happen.
This guide will walk you through everything you need to know about these essential marking tools. We will look at different types, materials, and how to get the best results for your project. Whether you are working on a small parking lot or a large industrial site, we have practical tips for you.
Understanding Pavement Stencils: More Than Just a Template
What Exactly Are Pavement Stencils?
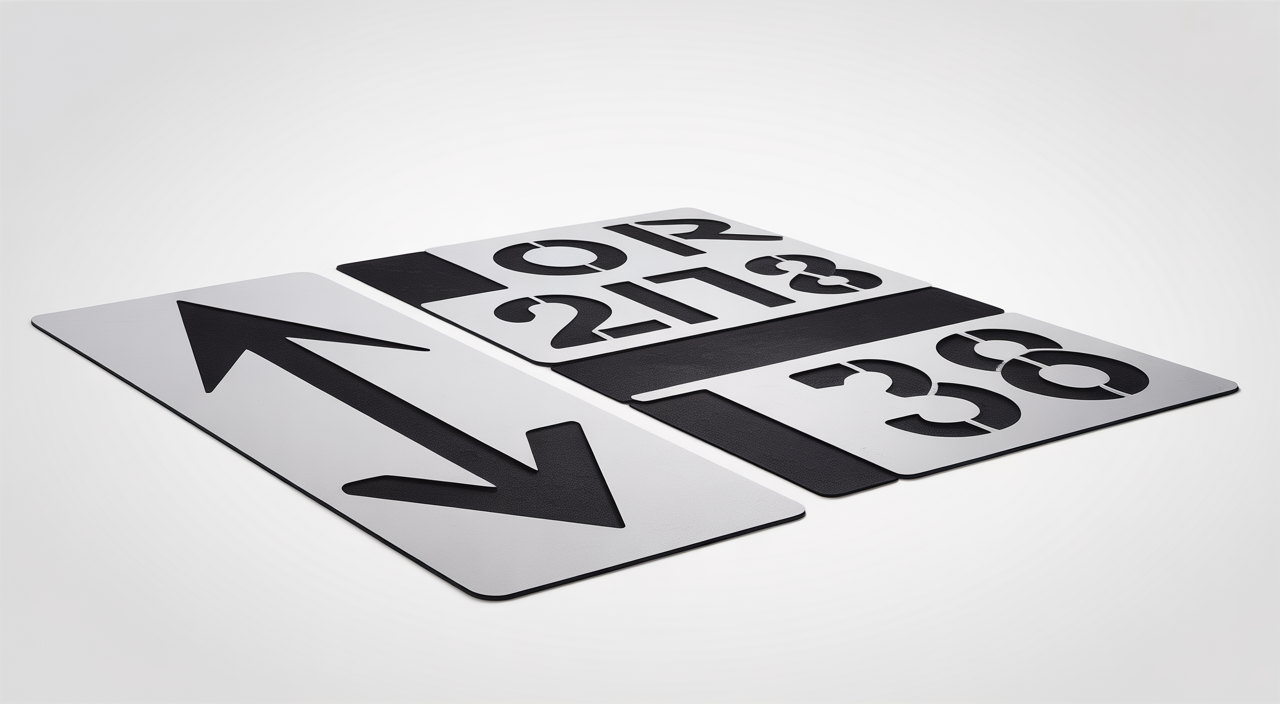
These stencils are reusable templates used to paint specific shapes, letters, numbers, and symbols onto paved surfaces. Think of them as large cookie cutters for paint. They allow you to apply consistent, professional markings quickly and accurately.
These stencils are vital for many applications. They ensure that markings like “STOP,” arrows, and accessible parking symbols are uniform. This consistency is important for safety and clear communication.
Why Quality Marking Templates Matter for Durability and Clarity
Using high-quality templates makes a big difference. Cheap, flimsy stencils can lead to messy lines and blurry symbols. This can be hard to read and might not last long. A good stencil, on the other hand, helps you create crisp, clean markings every time.
Durable stencils also save you money in the long run. They can be reused many times. This means less waste and fewer replacements. Investing in quality helps ensure your markings stay clear and effective for years.
Types of Marking Stencils: Matching the Tool to the Task
Different marking needs call for different stencils. Knowing which type to use ensures your project is both effective and compliant with local standards.
A. Essential Parking Lot Stencils for Optimal Flow & Safety
Parking lots need clear markings to keep things organized and safe. These stencils help direct vehicles and pedestrians, making the space easy to navigate.
- Arrows: These show drivers where to go. You will find stencils for straight arrows, turning arrows, and even combination arrows.
- Numbers: Use these for parking bay identification. This helps people find their spots easily.
- Letters: Common examples include “PARKING,” “VISITOR,” “RESERVED,” and “NO PARKING.” These clearly define areas.
- Accessible Parking Symbols: These are crucial for compliance and accessibility. They mark spaces for people with disabilities, making sure these spots are clearly visible.
- EV Charging Station Markings: As electric vehicles become common, stencils for charging spots are also growing in demand.
For a comprehensive selection of high-quality, durable pavement stencils, visit Roadly.ca’s product page, designed to meet all your commercial and municipal needs.
B. Traffic Stencils for Roadways & Public Areas
Roadways and public spaces require clear directional and warning signs on the pavement. These traffic stencils help manage vehicle flow and enhance public safety.
- Regulatory Words: Stencils for “STOP,” “YIELD,” and “ONLY” are essential for traffic control.
- Lane Indicators: These mark lanes for specific uses, like turn lanes or bus lanes.
- Bicycle Symbols: Crucial for bike lanes and shared road spaces to keep cyclists safe.
- Pedestrian Crossing Elements: Used to mark crosswalks, reminding drivers and pedestrians about shared spaces.
C. Custom Marking Stencils: Branding & Unique Messaging
Sometimes, standard stencils are not enough. Custom stencils allow you to create unique markings tailored to your specific needs.
This could include your company’s logo, specific warnings, or unique directional signs. Custom stencils help with branding and deliver messages that are not available in standard sets. Considerations for custom designs include the complexity of the logo and the size needed.
Choosing Your Marking Stencil Material: Durability, Reusability & Cost
The material of your stencil impacts its lifespan, ease of use, and overall value. Choosing the right material ensures your stencil performs well for your project requirements.
A. High-Density Polyethylene (HDPE) Plastic Stencils
HDPE plastic stencils are a popular choice for many reasons. They are known for being flexible and strong. This makes them resistant to cracking and breaking, even with frequent use.
- Pros: HDPE stencils are lightweight, making them easy to move and position. They are also resistant to many chemicals and paints, which means cleaning is simple. They are excellent for projects where you need to reuse the stencil many times.
- Cons: While very durable, they can be a bit more expensive upfront than very thin, single-use plastics.
- Ideal Uses: These stencils are perfect for high-frequency parking lot markings, schoolyards, and versatile applications where longevity is key.
B. Aluminum Stencils
Aluminum stencils offer another level of durability and precision. They are a top choice for projects that demand the absolute longest lifespan.
- Pros: Aluminum stencils are extremely rigid and tough. They resist bending and wear, giving them a very long lifespan. The precision in their cutting leads to very sharp, clean lines.
- Cons: They are heavier than plastic stencils, which can make them harder to handle for some. Their initial cost is also higher.
- Ideal Uses: These are best for permanent installations, large-scale public road markings, and specific, high-precision projects where the stencil will be used countless times over many years.
C. Other Materials (Briefly)
While HDPE and aluminum are top choices, you might encounter other materials. Thin plastic stencils can be useful for very low-frequency or single-use projects. Mylar is another option, often used for smaller, more detailed graphics, but it is less durable for heavy-duty pavement work.
Maximizing Your Stencil Investment: Tips for Success
Getting the most out of your stencils means following some best practices. These tips will help you achieve professional results and extend the life of your tools.
A. Proper Surface Preparation
A clean surface is crucial for any painting job. Make sure the pavement is free of dirt, dust, oil, and loose debris. A simple sweep and wash can make a big difference. The surface should also be completely dry before you begin. Repairing any large cracks or holes beforehand will help ensure an even application and a longer-lasting mark.
B. Selecting the Right Paint
The type of paint you use matters. Traffic paints are specially formulated to withstand heavy use and outdoor conditions. They come in water-based, oil-based, and epoxy varieties. Choose a paint that is compatible with your stencil material and the pavement type. High-quality paint will ensure your markings are vibrant and durable, standing up to weather and traffic.
C. Application Best Practices
For clean lines, secure your stencil firmly to the pavement. You can use weights or tape to prevent it from shifting. Apply paint in thin, even coats. Avoid thick layers, as this can cause paint to bleed under the stencil. Remove the stencil immediately after painting, while the paint is still wet, for the crispest edges.
D. Stencil Care & Storage for Longevity
Proper care will make your stencils last longer. Clean them right after each use. Remove any excess paint before it dries. Store them flat or hanging to prevent warping or damage. Protecting your stencils from extreme weather will also help preserve their quality.
Stencils vs. Other Marking Methods
While there are other ways to mark pavements, such as thermoplastic markings or preformed tape, stencils offer unique benefits.
They are generally more cost-effective for many projects. Stencils provide great versatility, allowing for easy changes or updates to markings. They are also simpler to use, often requiring less specialized equipment or training. For many applications, especially in parking lots and local roadways, the ease of use and flexibility of these tools make them the preferred choice.
For a reliable partner in maintaining your property’s infrastructure, consider expert advice on topics like property maintenance solutions, to keep all systems running smoothly.
Conclusion: Clear Paths Forward with the Right Pavement Stencils
Clear pavement markings are essential for safety, organization, and efficient traffic flow. Choosing the right marking tools and using them correctly ensures professional, long-lasting results. By understanding the types, materials, and best practices, you can maximize your investment and create effective markings.
Ready to upgrade your pavement markings? Explore Roadly.ca’s extensive collection of durable pavement stencils and other traffic marking products today! Find the perfect tools to achieve clear, professional markings for any project.
In addition to pavement tools, keeping your facilities in top condition requires attention to all areas. For industrial site upkeep, understanding comprehensive facility services can help maintain cleanliness and efficiency.
Frequently Asked Questions
Q1: How do I choose the right size for my marking stencils?
A1: The right size depends on your project and local regulations. For parking lots, standard sizes often work well. For roadways, markings need to be larger to be seen by drivers at higher speeds. Always check local city or provincial guidelines for minimum dimensions for specific symbols like accessible parking signs or “STOP” messages.
Q2: Can these marking templates be used on different surfaces like asphalt and concrete?
A2: Yes, most of these stencils are designed to work on both asphalt and concrete surfaces. The key is using the correct type of paint that adheres well to both materials. Proper surface preparation, including cleaning and drying, is also important to ensure good paint adhesion on any paved surface.

Hi, I am Cynthia Petrillo was brought into the world in California, Studied at University of Southern California. Fiery to bestow my knowledge to charmed people. I have extensive stretches of inclusion with the field of Business, Health and Information Technology. Beside that, I love to contribute energy with my family.