
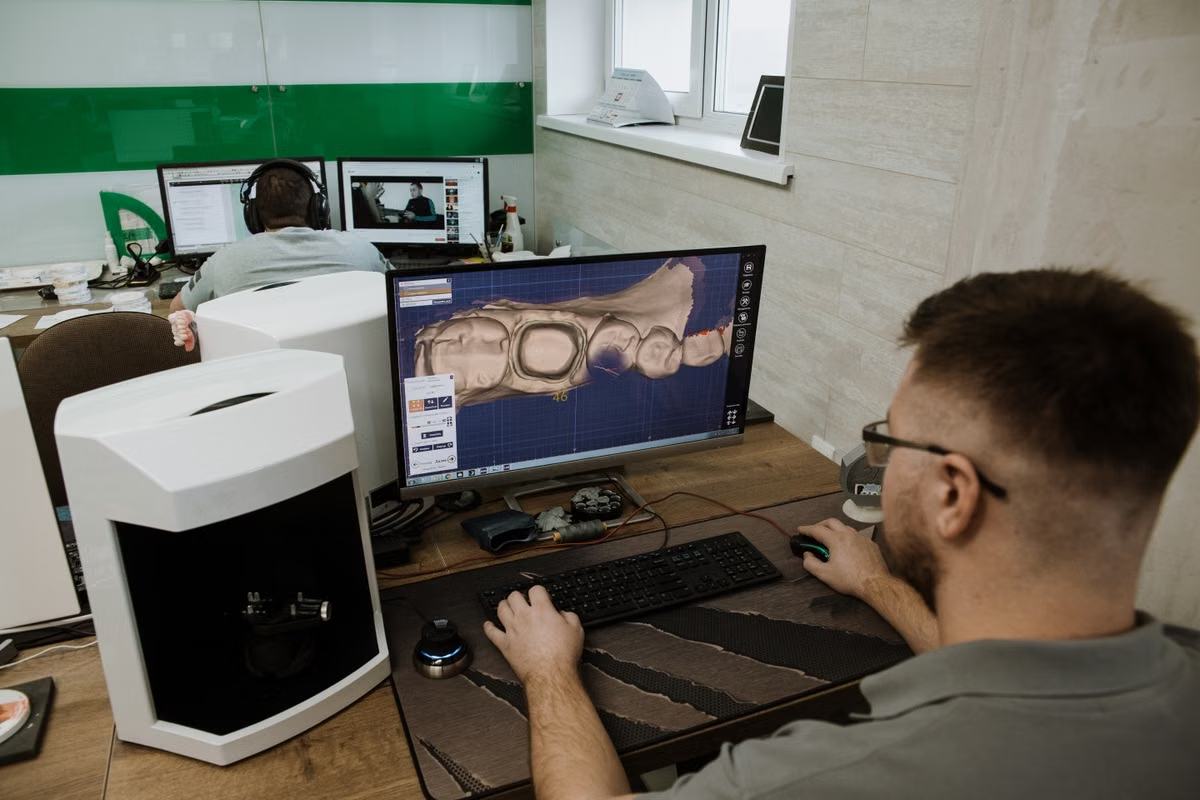
Guided implant surgery looks simple from the chair: a printed guide seats on the arch, the drill follows its sleeve, and the implant lands where the plan said it would. The accuracy of that moment is decided long before surgery, in a digital workflow that starts with scan data and ends with a physical guide. Knowing each stage helps clinicians send better files and get better results.
Stage One: Capturing the Right Data
Digital planning needs two kinds of information. A CBCT scan shows bone volume, density, nerve position and sinus anatomy. A surface scan, taken intraorally or from a model, captures the teeth and soft tissue with fine detail. Neither is enough alone. The CBCT shows what lies beneath the surface, while the surface scan shows what the guide will actually rest on.
Good habits at this stage save time later. Keep the patient still, avoid metal artifacts where possible, and capture the full arch. If a denture or wax-up represents the planned restoration, scan it too, because it tells the planner where the final teeth should be.
Stage Two: Aligning the Datasets
The two scans must be merged into one coordinate system. Planning software uses common reference points, such as tooth surfaces or radiopaque markers, to register the surface scan onto the CBCT. A small registration error at this step becomes a positioning error at the drill, so planners verify alignment visually and, where tools allow, numerically.
Stage Three: Planning Backward From the Restoration
Restorative-driven planning means starting with the tooth you want and placing the implant to support it. The planner sets the prosthetic position first, then chooses implant length, diameter and angulation that fit the available bone and respect nearby structures. Good dental implant planning software makes this practical by showing the crown, the implant and the bone in a single view, so the plan can be judged against both anatomy and function.
Safety margins matter here. Planners keep distance from the inferior alveolar nerve, adjacent roots and the sinus floor, and they check emergence profile and spacing between implants. Clinicians should review the plan carefully and request changes before anything is manufactured.
Stage Four: Designing the Guide
Once the implant positions are approved, the guide itself is designed around them. Designers choose the support type, whether tooth, mucosa or bone, and add features such as inspection windows, irrigation access and fixation points for edentulous cases. Sleeve positions are set to match the drill protocol of the chosen implant system. Teams that specialize in digital surgical guide design treat these details as part of the clinical plan rather than an afterthought, because a guide that is hard to seat or hard to irrigate can undermine an otherwise good plan.
Stage Five: Fabrication and Inspection
Most guides are now 3D printed in a biocompatible resin. After printing, parts are washed, cured and finished, and sleeves are fitted. A careful lab checks that the guide fits the model, that sleeves are seated correctly and that no support remnants interfere with the fit. Skipping inspection is one of the easiest ways to introduce error into an accurate plan.
Stage Six: Verification at the Chair
Before surgery begins, the clinician seats the guide and confirms stability. It should sit fully without rocking, and any inspection window should show contact where expected. If something looks wrong, stop and resolve it. A guide that does not seat as designed should not be used, no matter how good the plan looked on screen.
Common Pitfalls and How to Avoid Them
- Incomplete scans that leave gaps where the guide must seat
- Patient movement or metal artifact that distorts the CBCT
- Skipping the prosthetic plan and positioning implants by bone alone
- Approving a plan without checking sleeve height and drill clearance
- Using a guide that does not fully seat at the time of surgery
Why Workflow Consistency Pays Off
Each step above is simple on its own. The value comes from doing them consistently. Practices that standardize scanning, send complete case notes and review plans promptly tend to see fewer revisions and smoother surgeries. Over time, the digital workflow becomes less about technology and more about habit.
Final Thoughts
Digital implant planning turns surgery into the final step of a process that has already been rehearsed on screen. By capturing clean data, planning from the restoration, designing the guide with care and verifying fit at the chair, clinicians give themselves the best chance of placing implants exactly as intended. A little more attention upstream pays back every time the guide seats and the drill follows the plan.